5 Egg-ceptional Easter Egg Decorating Ideas
Easter eggs don't have to give you a sugar rush -- these unique Easter Egg decorating ideas are just as gratifying without any of the calories. They're ideal as a dairy-free or sugar-free alternative for the kids' Easter Egg Hunt. They also make great gifts for your guests or attractive centrepieces for your Easter celebrations. For each of these projects, you can either use hard boiled eggs or blown eggs prepared with the technique below.
Warning: If you choose to use hard boiled eggs instead, we recommend that you keep the eggs for decorative use only. Eggshells are porous so it's possible for the materials used below such as paint, nail polish and glue to seep into the egg, making them unsafe to eat.
Tattoo Easter Eggs
Take your dyed eggs up a notch by using temporary tattoos to embellish them. After dyeing your eggs, wait until they are completely dry before cutting the tattoos to size. Remove the protective plastic and place the tattoo face-down on the egg, then use a damp paper towel to apply gentle pressure to the back of the tattoo for 20-30 seconds. Carefully peel the paper backing off the egg to reveal the tattoo which should now have transferred to the egg, then press down any loose edges with the damp towel and leave to dry. Our gold jewellery tattoos are perfect for achieving this look and come in a range of on-trend designs.
6. Goldfish Kiss Jewellery Tattoos

Image source: Better Homes and Gardens
Paper Napkin Decoupage Easter Eggs
If you've got some paper napkins that are simply to pretty to use for collecting crumbs, make something beautiful like these decoupage eggs instead. If you can't find white eggs, you may need to paint them with a white base first.
Cut around the designs on your paper napkin and apply decoupage glue to part of the egg, then gently place your napkin cutout on top of the wet glue. Continue adding as many cutout designs as you like. When the glue is dry, apply another layer of decoupage glue to the whole egg to keep everything in place, and allow to dry.

Image source: Martha Stewart
Shaving Cream Swirled Easter Eggs
The key ingredient for these stunning swirled eggs may be a little unusual, but the method is easy and a fun one for kids. Again, you may wish to paint your eggs white first to get the full effect. Take a can of shaving cream and spray an even layer on the bottom of a baking pan. Smooth the shaving cream to create an even surface, then add some drops of different food colouring dyes.

Image source: A Thrifty Mom
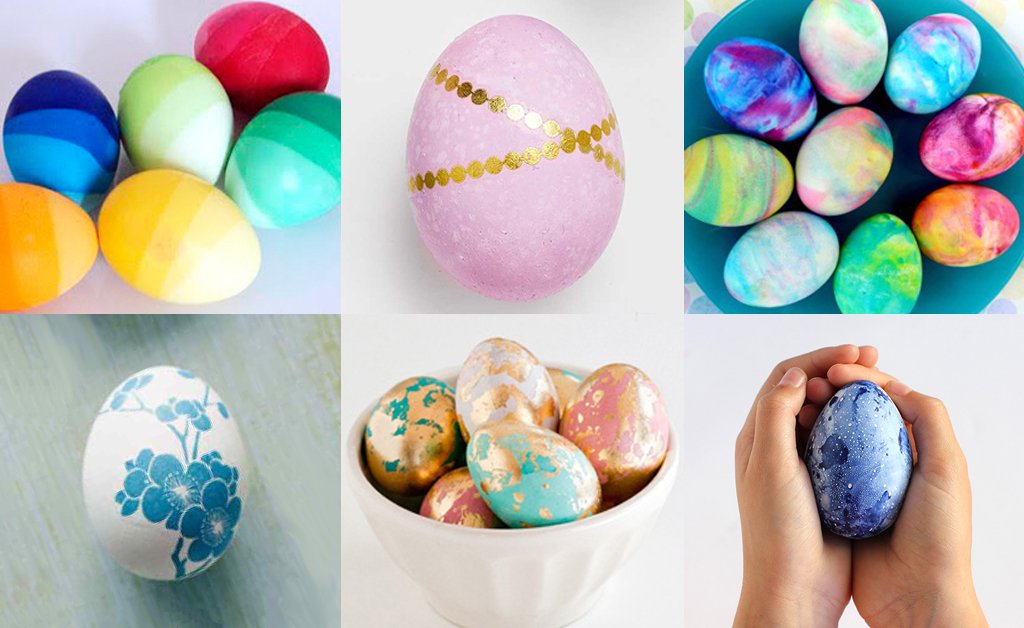
Marbled Easter Eggs
Marble is a major trend in home decorating, and these marbled Easter eggs are a great way to add a fashionable touch to your table. All you need is a disposable container, nail polish, water and white eggs. Fill the container with room-temperature water and add a couple of drops of nail polish using the brush. The nail polish should float on the surface of the water. If not, ensure your water is no colder than room temperature so the nail polish doesn't sink.

Image source: Alice & Lois
Swirl the nail polish across the surface of the water using a wooden skewer or toothpick to get the marbled effect. Gently dip the egg in the water so it is covered with the nail polish, then set aside. Add more nail polish if required then repeat for your other eggs. Allow the eggs to try, then display them where everyone can see your handiwork! Check out our favourite for more great Easter craft ideas.